Tuesday, 18 March 2014

Sweet Stamps challenge: Anything goes March challenge

Hello my dear stamping friends and welcome to Sweet Stamps Anything goes week! This is your biggest chance to enter our  challenge with any theme and any products and maybe to win some of SS delicious products. 
So this time I decided to make a tag and it's a very simple looking tag, but yet made with Mixed Media background  (mask and texture paste and misting over it)
Then I made 2 die cuts of CLD gorgeous owls and embellish both with brads and plastic eyes. The last, but not the least, was this fabulous sentiment from AF  stamp set and a touch of a ribbon to made it done.


Please join our challenge and you can be a winner!


Monday, 17 March 2014

Inspired by Stamping March release

Hello my dear crafty friends and welcome to my first post with IBS delicious March release.
This is the time we all think about Mothers day (takes time to buy products and to make some projects, so usually those releases are around March). So here is my fancy altered cross- stitch  hoop and my very much stamped finished project. Those Inspired by Stamping stamps were just perfect for this project.


I stamped over the patterned paper with clear embossing ink and black embossing powder and colored the stamped flowers with distress markers. Then I arranged the colored piece into the hoop and made the stamped and die cut with IBS dies set  sentiment. Another sentiment from the same set was added on the corner of the large one. I didn't embellish this piece a lot, but with some lace, trims and a few pearls only. I wanted  my stamped flowers to be the star of this project and not to add more embellishments around.


I enter this to Stamps and Spring Stamploration challenge
 Anything goes with ribbons for Stamping pearls

Saturday, 15 March 2014

Sweet stamps monthly technique: stamping with markers

Hello my dear crafty friends and welcome to our technical monthly Sweet Stamps challenge.
This month we challenge you to stamp with your markers. Just ink your stamp with any kind of markers you have and stamp! The results are totally lovely and so different from the usual use of inks.
Here is my card stamped with Faber Castell DMD artistic pens.


The frame was cut with 2 cardmaker CLD dies and colored with the same marker over it. I also stamped the sentiment  using the same marker too.
So now it's your turn: enter our monthly challenge and you can win some adorable goodies from Sweet Stamps shop!

Thursday, 13 March 2014

Die versions March Military release- Dreaming of you card

My new card made with Die Versions new March release.
 More info and another project are in Die Versions blog HERE
 You are welcome to visit there and to leave me some love too!
Thanks!


Tuesday, 11 March 2014

Sweet Stamps Lucky challenge

Hello my dear crafty friends and welcome to Sweet Stamps Lucky challenge week.
Are you lucky? Maybe just try our challenge and you will be our lucky winner.
Here is my Lucky card . I didn't have any " lucky" stamps, so I just stamped the script background and made it green and with a shamrock and even added those lucky brads and yes, I feel lucky in my life, with or without the card.


So join use on this Lucky Sweet Stamps challenge and make you own luck.

Monday, 10 March 2014

Make your unique key chain with Ann Butler's Quilting Squares

Hello my dear crafty friends! Today I am going to show you my personal key chain with this I letter for my name monogram I made with Ann Butler most lovely and unique stamps.
I used Advantus acrylic charms here and I stamped directly over them with Ann Butler's inks: those inks are very rich in pigment and it takes some time to understand the pressure level you need you use stamping over plastic. But then  it's just a great ink to heat emboss it after with clear embossing powders and to seal it to become the wearable piece.

I used 2'' rubber stamps from Unity here- the bigger size was perfect for my charms.
The blue  and green charms were stamped with Doily Picnic stamp set. I used Ann Butler's Clearsnap inks here- Limelight and Aquamarine.


 The pink I charm is double sided. I used 2 similar charms and stamped I letter with black permanent ink on both charms and clear embossed both stamped images. This time I used Ann Butler's fantastic monogram   set:   EZ-De's Flourish 2" ABC's
 Then I stamped another quilt square over one charm only backside and clear embossed it too. Then both charms were glued with Glossy Accents and I got this double sided  charm.
This time I used Ann's Berry ink


I added  one glass bead and one silver charm for more interest and connected them all to this fancy usable  chain.
I hope you like my project and you can make a lot of  those chains with Ann Butler's delicious products.

Saturday, 8 March 2014

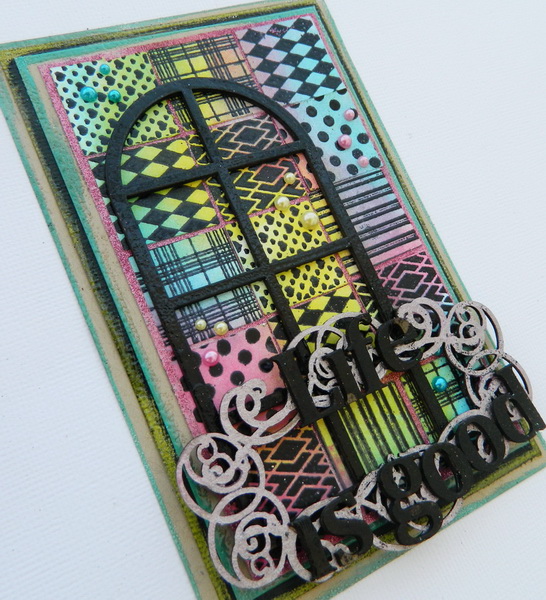
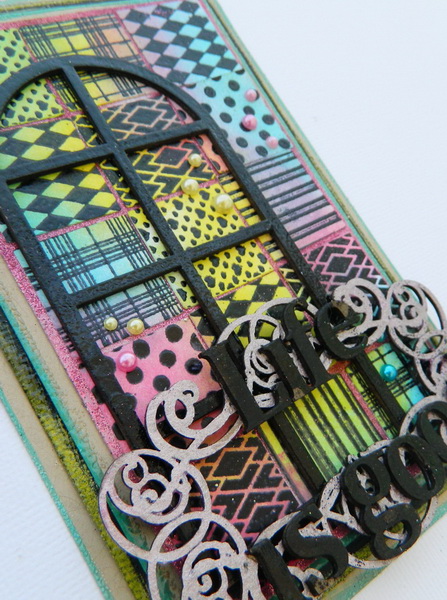
Life is good

Hello my dear crafty friends!
Irit is here with my very first post made with Ann Butler's delicious products.
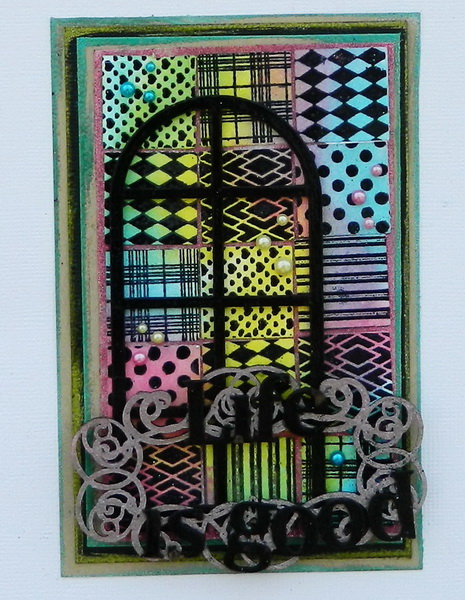
A few months ago we bought a new TV set and as it is LG one the first thing you see when you turn it on is this huge LIFE 'S GOOD title. So these  words were ringing in my head for a long time and I decided to make an artistic card with this "Life is good" title.
I made it with Ann Butler's products, a lot of them and made a small tutorial to show you my fancy way to use a lot of stamps and 3 close to primary ink colors. As I made my finished project first, the tutorial is just a sample of all techniques used to make this fancy card and not a finished project sample.
So here we go:
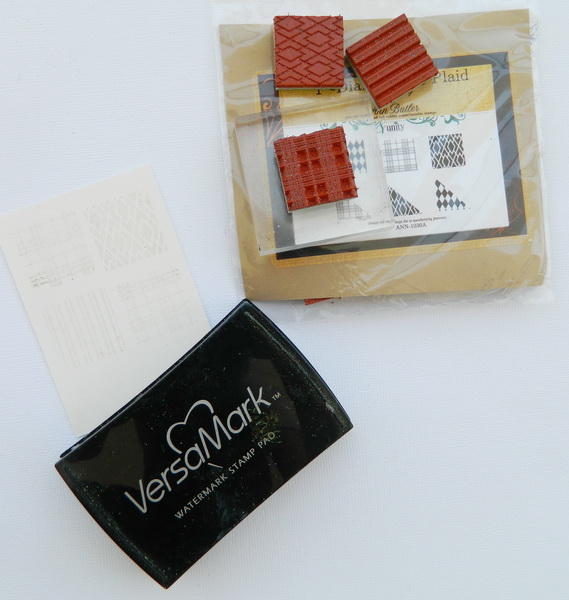
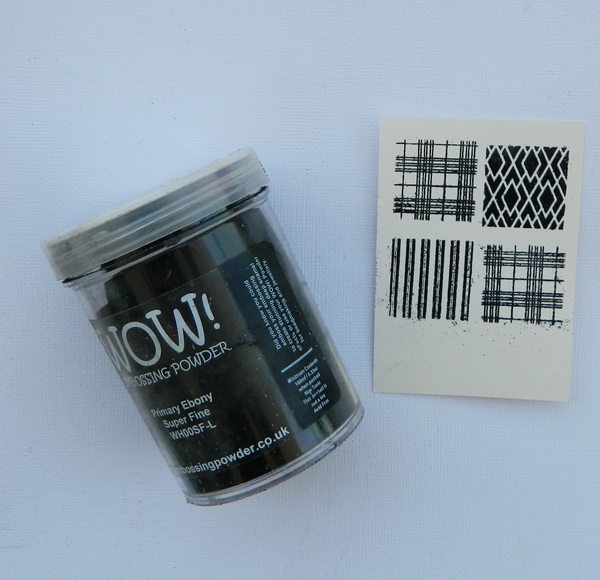
1.  Stamp images over white cardstock with clear embossing inkDSCN2275
2. Heat emboss your stamped images with black fine embossing powder,
DSCN2277

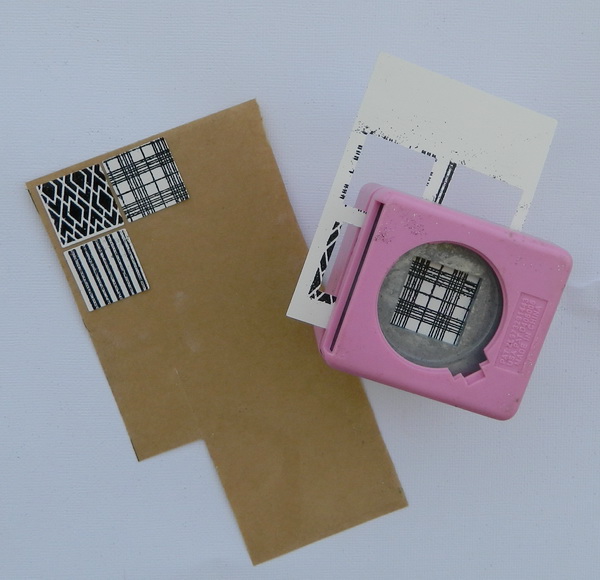
3. Punch the embossed images with 1'' punch (you sure can hand cut them, but if you have the proper punch  it makes it  so fast and easy.Arrange your punched images over double sided tacky tape. Do not connect the images as we want a bit of space between the pieces, but try to keep the space around 1/8'' mostly.
DSCN2281

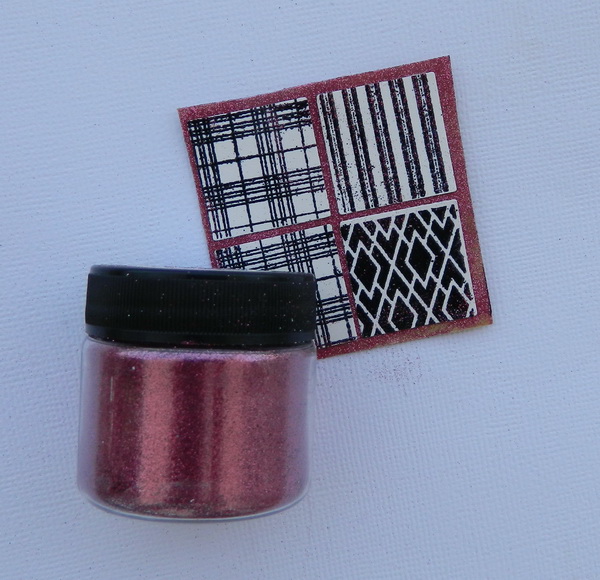
4. Sprinkle fine pink glitter over the tacky piece, don't worry about the images as you can just wipe them in a second later.DSCN2286

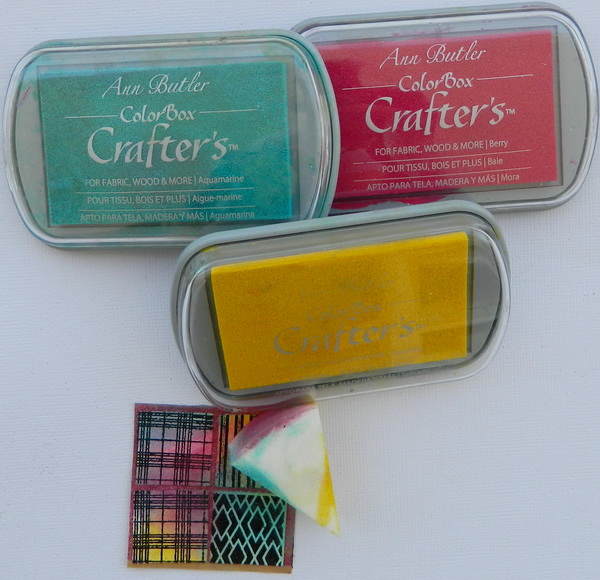
5. This is a step where we usually use 3 primary ink colors to make a whole rainbow of colors (red, blue and yellow). But I decided to step out of the box and to use  colors that are close to primary from Ann's collection, so I used Sunshine, Aquamarine and Berry. Use a simple cheap make- up sponge or your fancy inking tool, your choice.
DSCN2289

This is an end of my sample technique tutorial and now for my finished project.
I used three Ann Butler cling stamp sets from Unity:


The chipboard  window and the title were heat embossed with black embossing powder and the chipboard frame was painted with Ann Butler's Lipgloss Iridescents`paint
Here you can see all layers and it's still very flat card.


5
I added some pearls and my card was done. Hope I inspired you to try my techniques and to make some similar projects with Ann Butler's delicious products.
Supply list
Ann Butler inks: Aquamarine, SunshineBerry
Ann Butler paint: Lipgloss
Cardstock: American Crafts
Chipboards: Creative Embellishments
Pearls: Flourish with a Bling
Embossing powders: WOW! Embossing Powders


Popular Posts