Showing posts with label zig real brush. Show all posts

Friday, 8 February 2019

Best floral day ever card with CAS- ual Fridays

Hello my dear crafty friends and welcome to my new CAS- ual Fridays post.
Today I am going to share my new lovely floral card of a card made with one single CAS- ual Fridays  background stamp set and one CAS- ual Fridays die .
I know that it's a Winter around, but here in Israel it's a kind of a Spring and I was in this bright mood and this is how this card was born.

The background floral set was stamped with black pigmented ink and then heat embossed with clear embossing powder.
Then I colored the floral background with watercolor markers.
Here are the CAS- ual Fridays products that I used to make this card:


And some more photos of this card:

The title was die cut and then covered with black embossing powder and I tried to leave the part of the title non covered as the shadow.

Black enamel drops were added as my flower centres all over the card.


See how easy it is to make this lovely floral card with just one great CAS- ual Fridays stamp set and one single die. You sure can change the floral colors and the title can be die cut from colored cardstock or painted in another color.
 Hope that you like my  card and you still have time to buy yourself these gorgeous stamps from CAS- ual Fridays shop and even to use our  discounts.

Check the discounts and subscribe to our newsletter to get the best possible prices.
See you in two weeks with another lovely card made with CAS- ual Fridays products.

Wednesday, 22 August 2018

Pear- fect pair card with SNS


  Hello my dear crafty friends!
Irit is here again and this is my last August reveal card.
I used the most adorable Sparkle N' Sprinkle  Sketched Pear stamp set , but this time I used another sentiment and to fit the sentiment I masked the third pear and made it just a couple.


This is one layer card (I don't count the base) and it was made over water color cardstock so the Mica Mists actually made with colorful background with a bit of water mist.
The only embellishments added are small washi tape pieces and Nuvo drops.

  Product list:

 You can see the full step by step tutorial in my blog HERE and you are most welcome to visit it!
Also all links in this post lead to our SNS shop and you are invited to visit and to buy there!


 Step by step tutorial:
1. Mask the third pear on the stamp image with tape. Stamp the image with Dried Oregano ink and heat emboss with clear embossing powder.


2. Stamp the sentiment on the corner in the same way .


3.Color the stamped image with water colors.

4. Mist the cutting mat with Mica mists , add some water  and swipe the card over the mat.While wet add Clear embossing powder over the card and heat emboss it all.


5. Add pink Nuvo drops and some golden shadows using Midas Touch pen.
Add small washi tape pieces over the card.


Friday, 29 June 2018

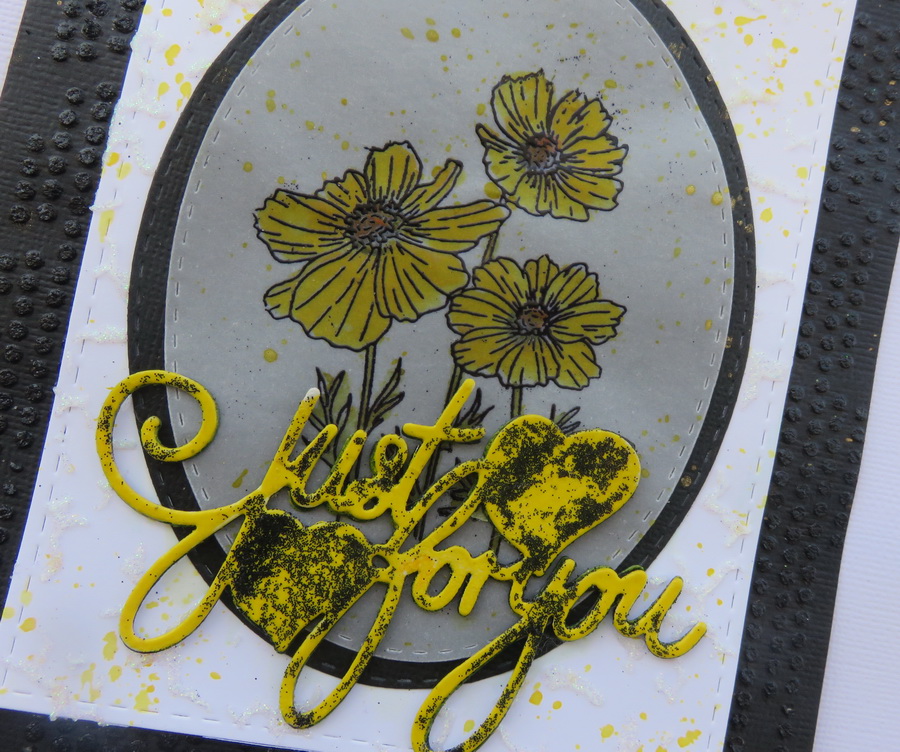
Just for you - SNS June reveal


 Hello my dear crafty friends and welcome to my last June Sparkle N' Sprinkle reveal post. Irit is here and
this time I used the same Cosmos Blooms set again, but in a totally different way.

Product list:
Stencils Art Anthology
 Zig Water colors

I stamped the flowers over vellum and color them with Zig water color markers.
I made two layers of textured backgrounds using Tonic Studios Glitter pastes and make a chipboard like die cut Tonic sentiment.
You can see the whole process in my step by step tutorial HERE in my own blog!

Be sure to leave a comment both here on this SNS blog post and then head over to my own blog  and leave a comment there as well for your chance to win a $20 gift card to SNS! One lucky winner will be chosen from one of the Designers' posts on the last day of each month. A comment must be left on both the SNS Blog and the Designer's post in order to qualify. The winner will be announced on the 3rd of the following month, both on the SNS Blog and on the SNS Facebook page.


Step by step tutorial:
1. Die cut the oval frame and put the oval part as a mask over the rectangle die cut card front as shown. Cover it with stencil and add Tonic Moon stone glitter paste over the stencil. 
  

2. Die cut a smaller oval from vellum paper and stamp the blooms with VersaMark and heat emboss with black detail embossing powder.


3. Color the stamped blooms with Zig watercolor markers and arrange over the card as shown.


4. Make large black cardstock matting and cover the edges with the same stencil and Tonic Black Diamond glitter paste around. The blue die  cut piece is just a mask that keeps the white card space clean.


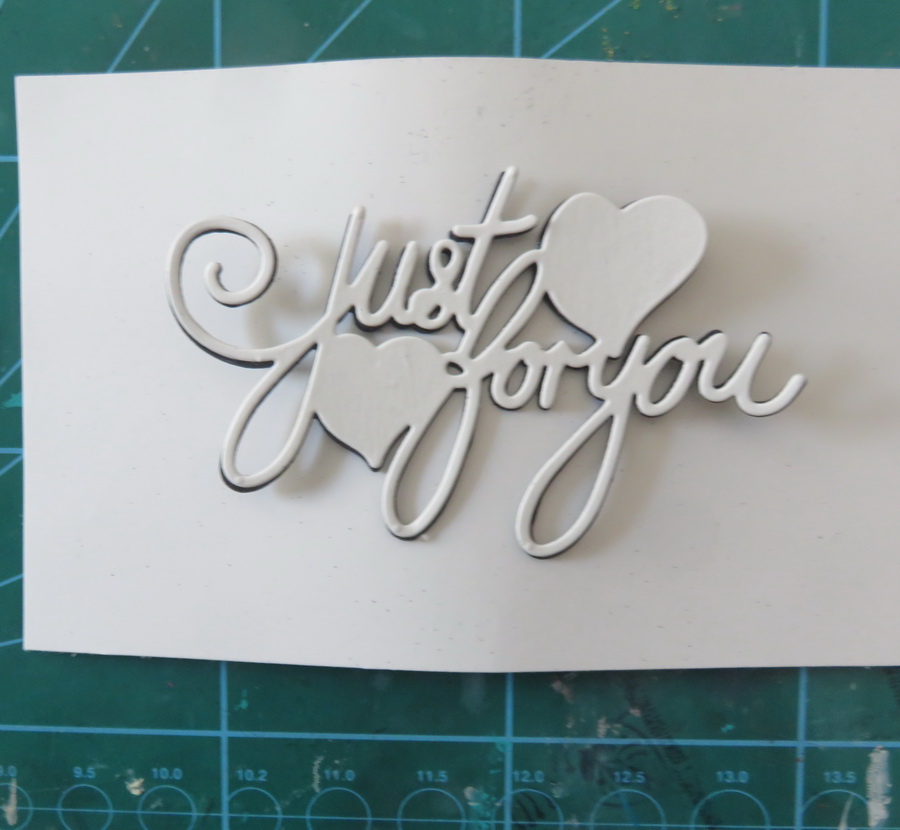
5. Die cut the sentiment several times and glue it one over another to make a chipboard like shape.White color should be on the top.All other colors are not so important as we don't see them.


.Cover the sentiment with VersaMark ink and heat emboss with Daffodil embossing powder


.Add SNS Brushable glue over the yellow sentiment and sprinkle a bit of Black Ice glitter


 Glue the sentiment over the card and mist a bit with yellow mist as shown.


Thursday, 7 June 2018

Eclipse card with Magenta


 This lovely card was made for Craft Stamper magazine and already was in print a couple of issues ago.
So now it's a time to show it in my own blog.
This is eclipse technique made with Magenta stamps, Tattered Angels mists, Zig markers and MFT die.
You can read more of it in Craft Stamper March  2018 ISSUE.

 Thanks for being here with me!

Tuesday, 29 May 2018

One stamp- three projects with SNS

Hello my dear crafty friends and welcome to my new Sparkle N' Sprinkle blog post.
Today I am going to share " same stamp- three project" crafty post.
I used same large single SNS stamp called Danielle and made three totally different projects with this beauty.
The first is this Mixed Media card and I made a full tutorial for you to follow in my own blog.


Product list:

Happy Birthday metal stencil Stampendous
Stencil Rebecca Baer
Water colors


 The card was made with artistic stencil, Nuvo glitter paste and then misted with Nuvo Mica mist for the background.
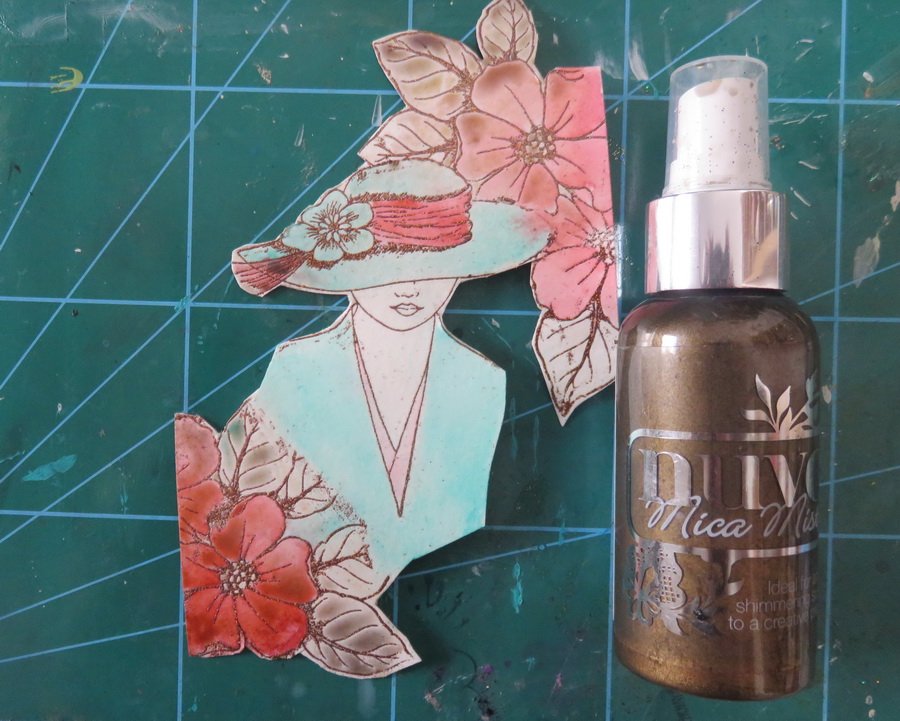
The lady's image was stamped over cardstock, heat embossed with black embossing powder and then covered with Masking fluid. When fluid was dry the more stamped image were added around using Pretty Blooms stamp set. 
Then the main image was colored, misted and added to the card.
The sentiment was done with the same Glimmer paste over stencil.
And as I said- here is the full tutorial for you to follow. And now a few close-m ups to this card:


And now for my second card today:


 Product list:

Stencil - Rebecca Baer
Alcohol inks- Ranger

The second Mixed Media card was made with the same stamp, but as it was stamped over the transparency I flipped it to another side. The image was then colored on the back with alcohol inks. The background was made with sticker paper, stencil and two SNS gorgeous glitters. First add the dark glitter over the stencil and then peel the stencil off and add  white color over the sticker bare spaces.
The sentiment was die cut several times and heat embossed with black embossing powder.
 And a couple close- ups to this card:


 The last project is a stamped Steampunk tag that was made with the same image stamped over transparency. But this time I made the " just add ink" coloring on the back as this is a totally free project and Steampunk is not intended for pretty coloring.
The chipboard pieces were all heat embossed with four different embossing powders in metallic colors.


Product list:
Embossing powder Timber SNS
Embossing powder Copper SNS
Embossing powder Gold Detail SNS
Embossing powder Black Detail SNS
Embossdable acetate
Alcohol inks- Ranger
Chipboards- Dusty Attic
Cardstock- BoBunny
Titles- Tim Holtz
And a few close- ups to this tag:


 And now for the full tutorial for the first card.
 1. Stamp and heat emboss the image with Timber SNS EP.


2. Cover the stamped image with Tonic Masking fluid and let it totally dry.


 3. In the meantime add Tonic glitter paste over the metal stencil to make the sentiment.


4. Stamp the flowers around the woman's image while covered with dry masking fluid.


 5. Peel off the dry fluid and cut as shown around the images.


6. Color the images with water color markers.


 7. Mist the colored images over with Tonic Mica mist.


8. Make the glitter paste background with Tonic glitter paste and then mist with Tonic Mica mist.


9. Arrange the stamped image over the card as shown and add the black background cardstock.Hand cut and color the sentiment and glue it over the card.


Thanks for being here with me today and I hope that you like my " same, but different" projects.

Popular Posts